Your special day is fast approaching, and a radiant smile can truly make the difference in your photos, memories, and overall confidence. Whether you’re preparing for a wedding, graduation, or any milestone event, ensuring your teeth are pearly white is a top priority. In this guide, we’ll walk you through the most effective ways to achieve a brighter smile, ensuring you’re ready to shine.
Why Teeth Whitening is Important for Your Big Day
A confident smile can elevate your entire appearance. On big occasions, you’ll be photographed frequently, and having bright teeth helps you look fresh and vibrant. Teeth discoloration can occur due to multiple factors, including aging, diet, and lifestyle habits, so taking time to whiten your teeth is essential.
Understanding the Causes of Teeth Discoloration
Before jumping into teeth whitening solutions, it’s crucial to understand why teeth get stained. Discoloration can be classified into two main types:
- Extrinsic Stains: Caused by external factors like coffee, wine, tea, tobacco, and certain foods.
- Intrinsic Stains: Develop within the tooth, often due to aging, medication use, or trauma.
Knowing the source of discoloration will help you choose the right whitening method for your needs.
Popular Teeth Whitening Methods
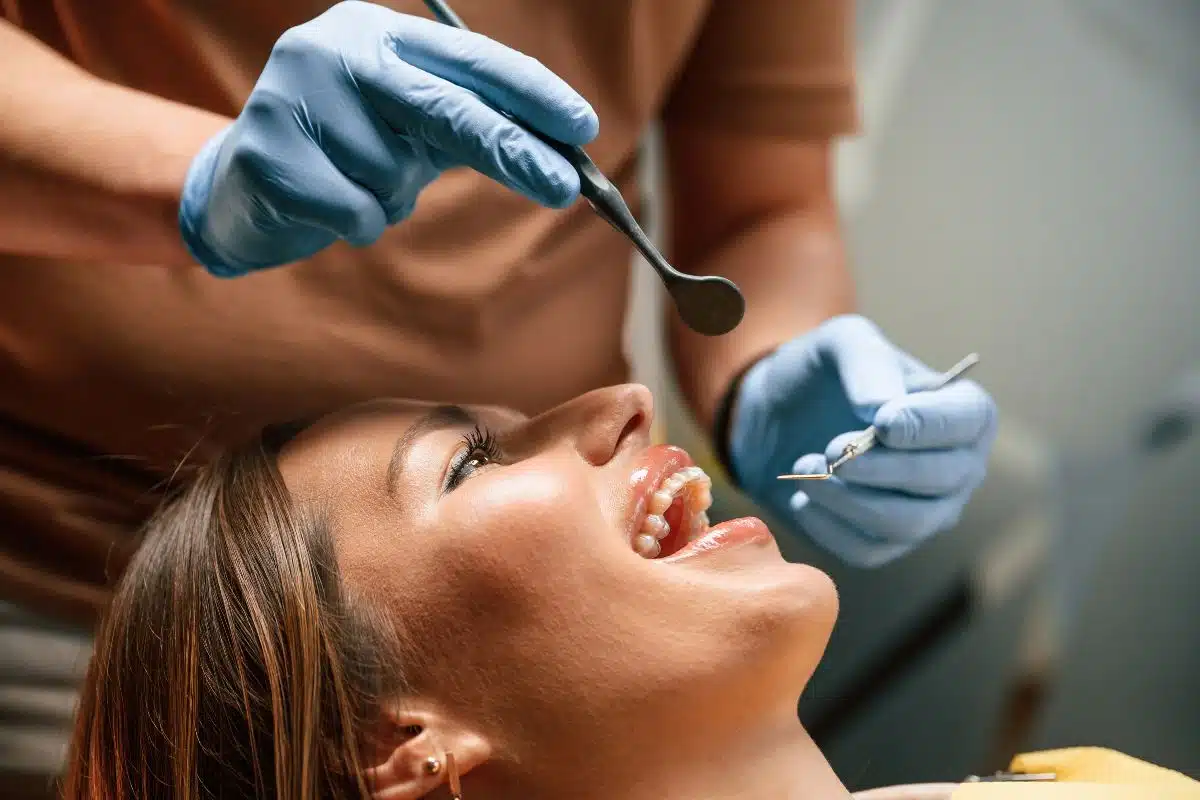
1. In-Office Professional Teeth Whitening
When time is of the essence, professional teeth whitening offers quick, visible results. A cosmetic dentist will use highly concentrated whitening gels and may activate them with specialized lights to accelerate the process. This option is ideal if you want your teeth whitened in just one session.
Pros:
- Fast results
- Custom treatment plans based on your teeth’s needs
Cons:
- Higher cost compared to other methods
2. At-Home Whitening Kits
At-home whitening kits provided by your dentist are a convenient alternative. These kits include custom-made trays and professional-grade whitening gel, allowing you to achieve significant results from the comfort of your home.
Pros:
- More affordable than in-office treatments
- Custom-fitted trays ensure an even application
Cons:
- Results take a few weeks to show
- Requires consistent application
3. Over-the-Counter Whitening Strips and Gels
Easily accessible and budget-friendly, over-the-counter whitening strips or gels are a popular choice. While they can help with mild discoloration, the results are less dramatic compared to professional treatments.
Pros:
- Affordable
- Available at most drugstores
Cons:
- Limited effectiveness for deep stains
- Not as long-lasting
Best Practices to Maintain a Whiter Smile
After whitening your teeth, it’s crucial to maintain the brightness. Here are some tips to help preserve your results:
- Avoid Staining Foods and Drinks: Limit intake of coffee, red wine, tea, and dark-colored berries.
- Brush and Floss Regularly: Keep up with good oral hygiene to prevent plaque buildup.
- Use a Whitening Toothpaste: Incorporate a whitening toothpaste into your routine to maintain the brightness.
- Drink Through a Straw: This can reduce the contact of staining liquids with your teeth.
Teeth Whitening Timeline: When to Start
Timing is everything when preparing for your big day. Here’s a suggested timeline to help you plan:
6-8 Weeks Before:
- Consult Your Dentist: Book an appointment with a cosmetic dentist to discuss whitening options. If you choose professional whitening or a custom at-home kit, this is the best time to start.
4-6 Weeks Before:
- Begin At-Home Whitening Kits: If you’re using an at-home whitening kit, start applying it daily for optimal results.
2-3 Weeks Before:
- Touch-Up Treatments: If needed, consider touch-up whitening sessions or use whitening strips to refine your results.
1 Week Before:
- Final Boost: Use whitening toothpaste or strips for a final boost in brightness. Be cautious with what you eat or drink to avoid last-minute stains.
Possible Side Effects of Teeth Whitening
Teeth whitening is generally safe when done properly, but some individuals may experience side effects, including:
- Tooth Sensitivity: Whitening treatments can make your teeth more sensitive to hot and cold.
- Gum Irritation: Whitening gels may irritate the gums, especially if they come in direct contact.
To reduce these risks, use desensitizing toothpaste and ensure that whitening agents don’t touch your gums.
Natural Remedies to Whiten Teeth
For those seeking a more natural approach, certain home remedies may help:
1. Baking Soda and Hydrogen Peroxide
Mixing baking soda with a small amount of hydrogen peroxide forms a paste that can be applied to your teeth for a brighter smile. This should be used sparingly to avoid enamel damage.
2. Coconut Oil Pulling
Coconut oil pulling is an ancient practice believed to reduce plaque and whiten teeth. Simply swish a tablespoon of coconut oil in your mouth for 10-15 minutes before spitting it out.
3. Apple Cider Vinegar
Diluting apple cider vinegar with water and using it as a mouthwash can reduce stains. However, limit its use due to its acidic nature, which may erode enamel.
Maintaining Long-Term Results
Whitening your teeth is just the first step. To ensure your teeth remain bright for the long term:
- Regular Dental Checkups: Schedule regular cleanings with your dentist to remove plaque and surface stains.
- Whitening Touch-Ups: Periodically use whitening trays or strips for touch-up treatments.
- Avoid Tobacco Products: Smoking can severely stain your teeth, negating your whitening efforts.
Conclusion
Your smile is one of the most important aspects of your appearance on your big day, and having bright, white teeth can boost your confidence. By understanding the causes of discoloration and choosing the right whitening method, you can achieve a dazzling smile that will leave a lasting impression. Start early, follow a regimen that works for you, and don’t forget to maintain those results so you can look and feel your best!